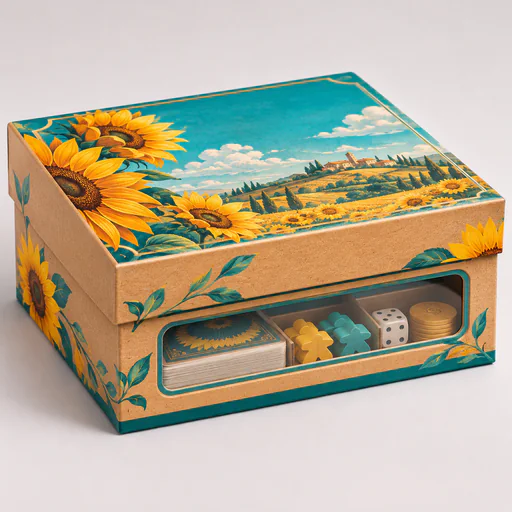
How to Design Box Inserts for Toys, Games and Mixed Kits
Organize figures, accessories, decks and kit components with tested supports, removal paths and clear pack positions.
An insert should keep components in order during packing, delivery and opening. Use actual parts and place them as the buyer will first see them. Identify which surfaces can take a load and which details must stay clear.
Compare the item types
In a toy packaging carton, hold a figure at the body and leave its fragile projections clear. Place accessories in separate pockets. In a game box, measure the folded board and the full contents after opening. Set aside additional depth for a sleeved deck if the game will be repacked that way.
A sealed-component test kit carton needs a different sequence. Separate hard components from soft seals and put the approved instructions where they can be removed first. For a baby gift set carton, keep hard pieces clear of folded textiles and leave headroom above bottle caps.
Check the load and removal path
Tilt a filled prototype and confirm each piece stays in its position. Check the smallest and largest components if the same insert is used for several kits. Add finger access where people cannot lift a closely held piece. Make sure the tray does not come out by accident when a component is removed.
Document the packing order
Add a numbered position plan or approved printed layout where useful. Have a packer assemble and check several kits, including one at each end of the dimensional range. Review any viewing window under load and keep it clear of points that support the product.
Compare toy and game box packaging and fitted box inserts once the layout, filled weight and distribution route are clear.
Designing inserts for toys and kits is one of our packaging guides fromCustom Boxes, written to help you specify custom toy boxes and every other format in our range of custom box types.